The next stage of building a PC is sometimes the most difficult
and frustrating, and I was expecting big problems. Usually, you
will need to change some settings in the PCs BIOS, and I will
cover this in a future revision of this site. Windows XP behaved
very well, and I was impressed. Load the CD into the drive and
turn your PC on. Here are the photos as we run through the installation
process. Unfortunately, the images had to be captured by taking
a photo of the LCD screen, and some of the pictures are not as
clear as I had hoped!
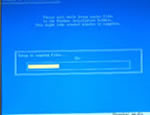
You will need to format your hard drive, and set up a
partition. This screen shot shows XP formatting one of
a pair of hard drives.
|

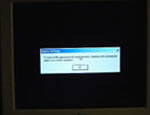
Blank screens can be very worrying, luckily this one didn't
stay on long!
|
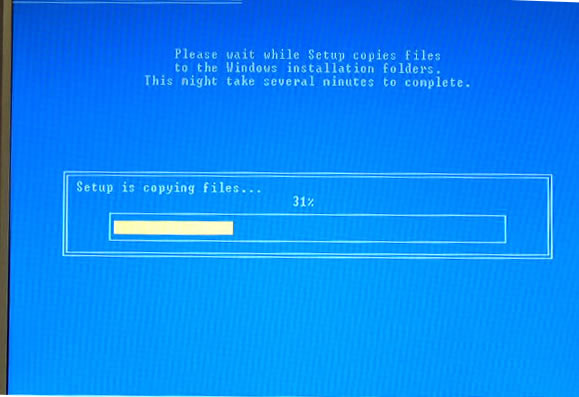
XP will then copy all its installation files over to your
hard drive before proceeding.
|

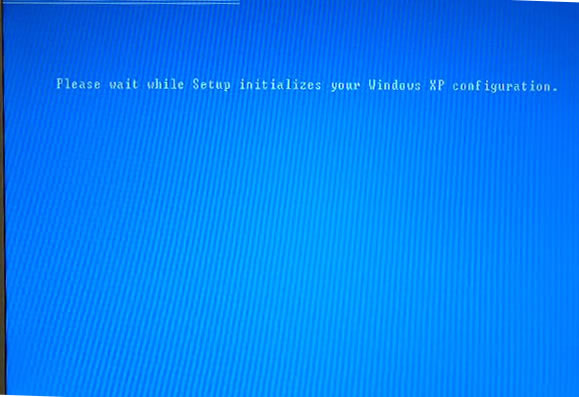
Another blank screen, this time XP is initiallising its
installation
|
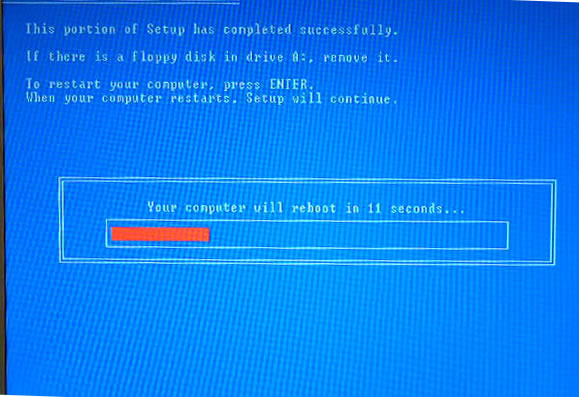
Remove the CD and any floppies,
then XP will reboot your computer
|
|
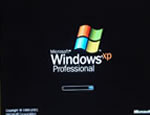
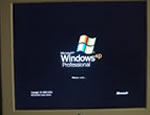
Your first glimpse of the XP
boot screen. Unlike older versions of Windows, XP boots
very quickly
|

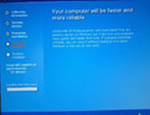
The first of many screens that display
whilst XP is doing something useful!
|
| |
|
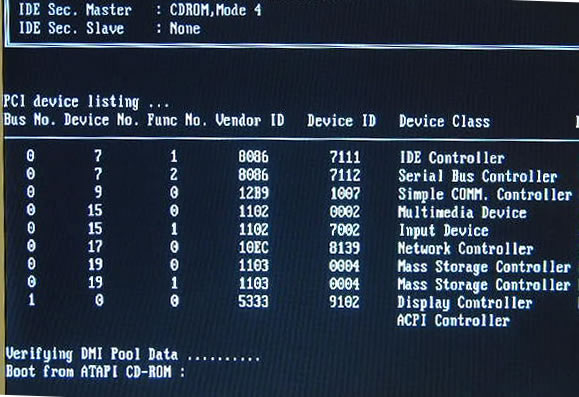
XP now inspects your hardware and installed the correct
drivers.
|
|
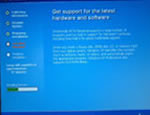
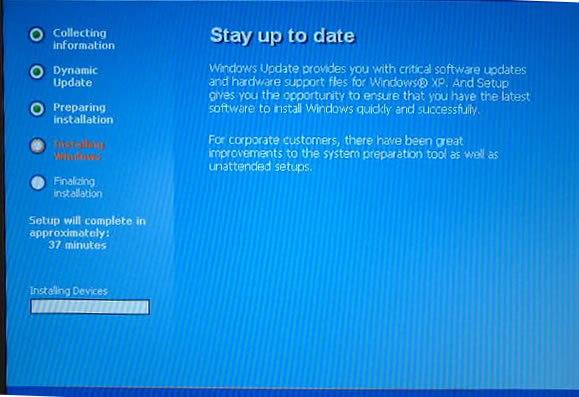
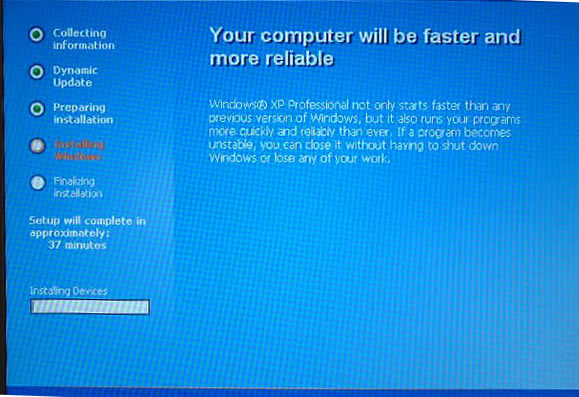
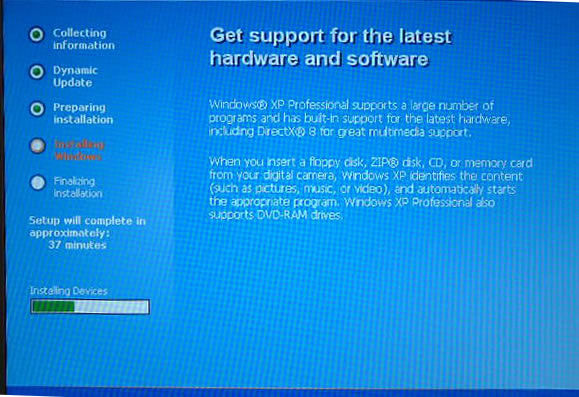
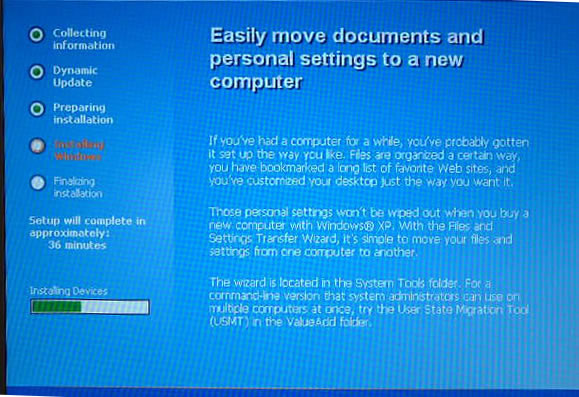
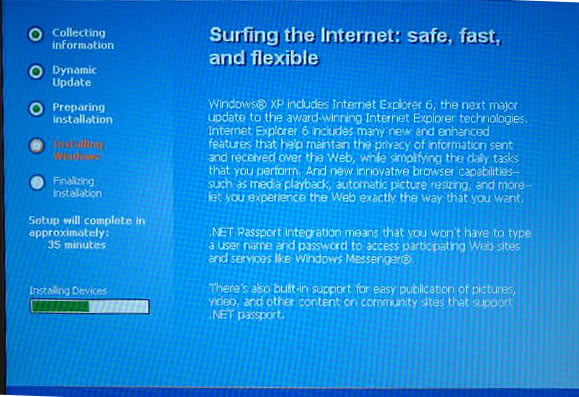
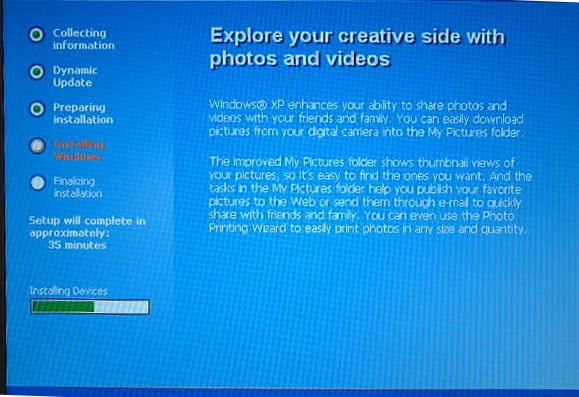
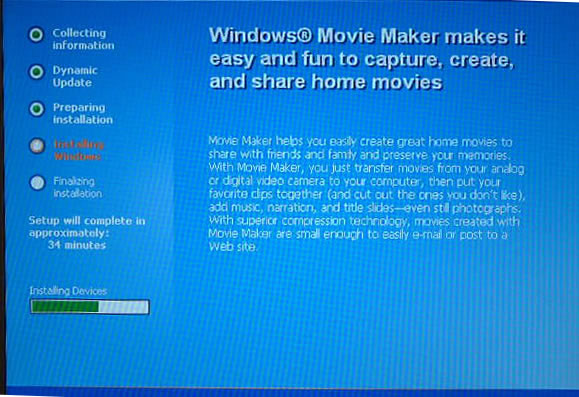
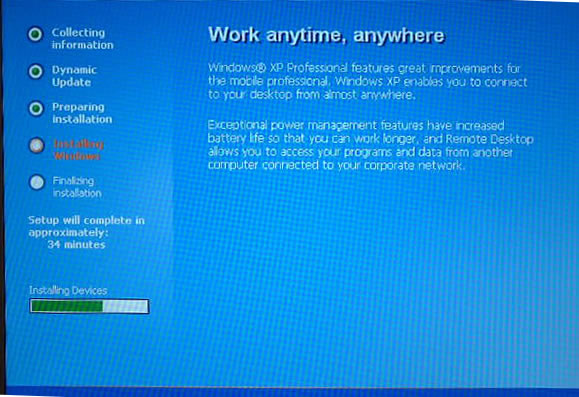
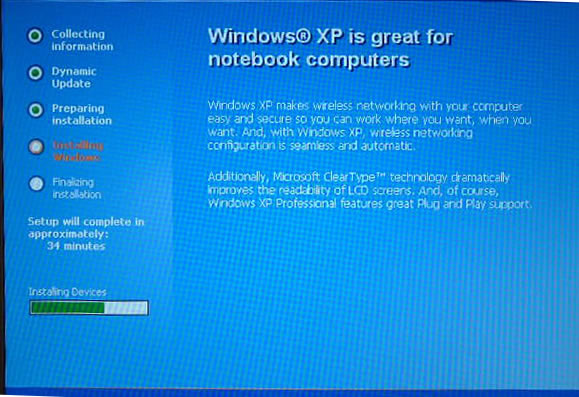
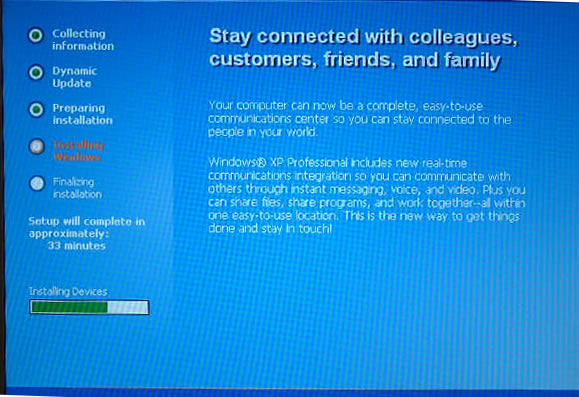
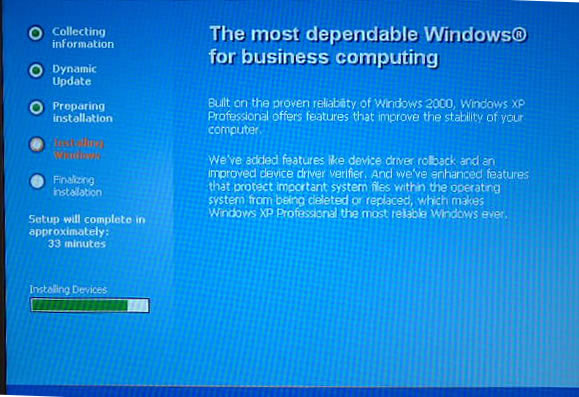
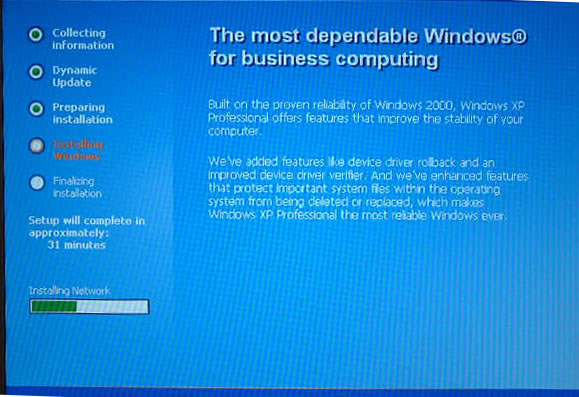
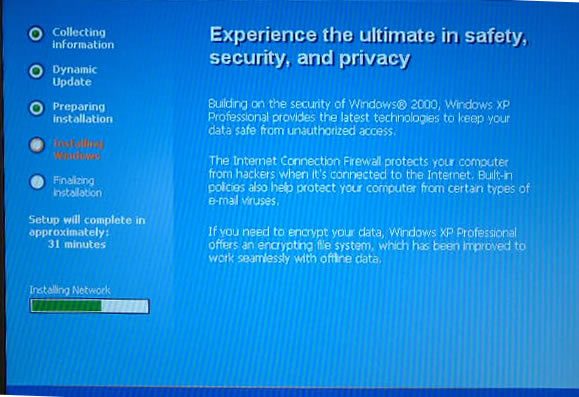
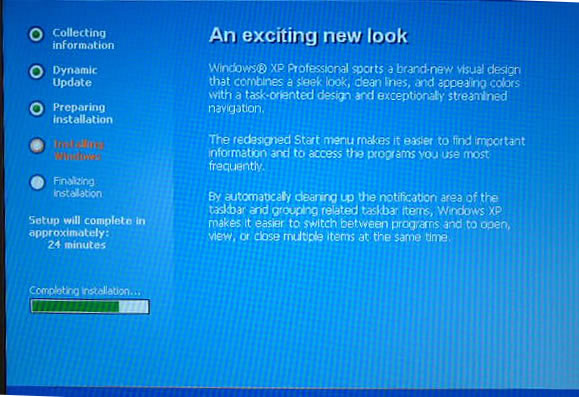
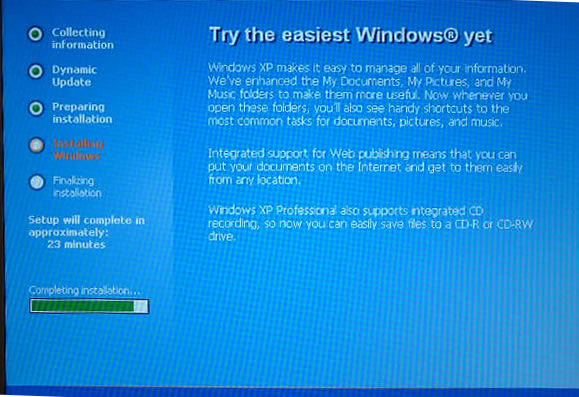
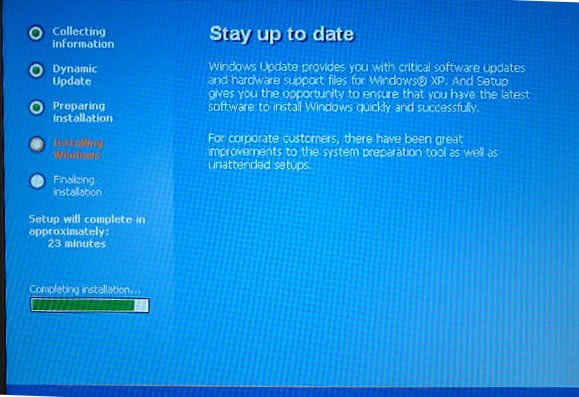
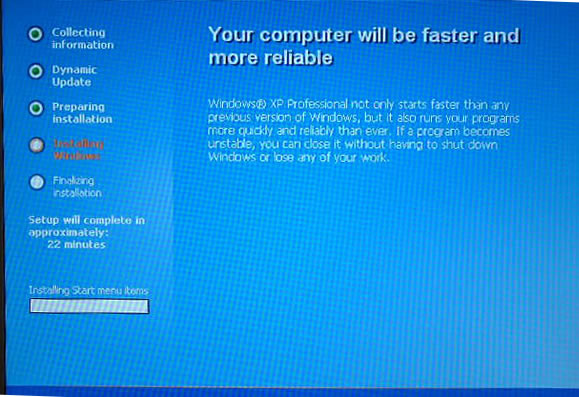
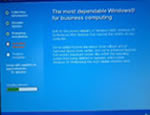
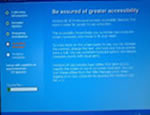
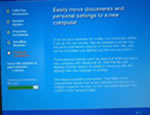
More corporate blurb. The messages
do seem more interesting than Windows 98, but repeat themselves
more often
|
|
|
|
| |
|
|
|
| |
|
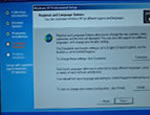
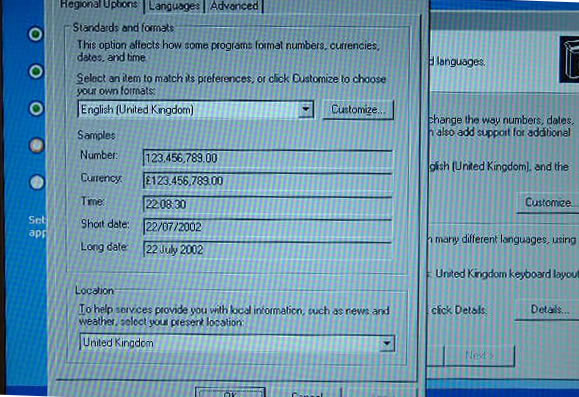
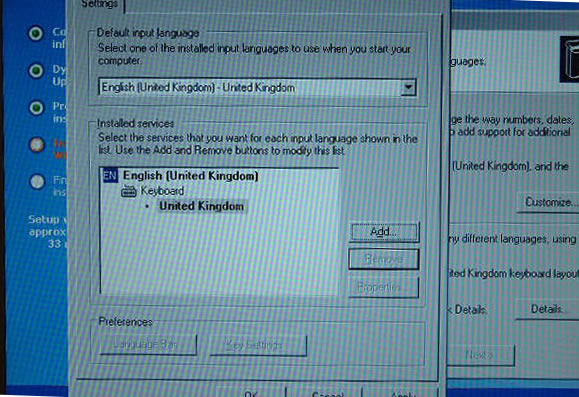
Make sure that you select the correct
language options.
|
Take some time, and explore each
window that comes up. Select "United Kingdom"
|
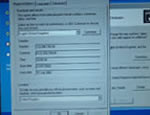
I made the mistake of removing the
English (United States) keyboard, which prevented me being
able to use voice recognition in Office XP
|
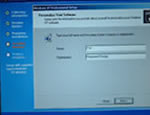
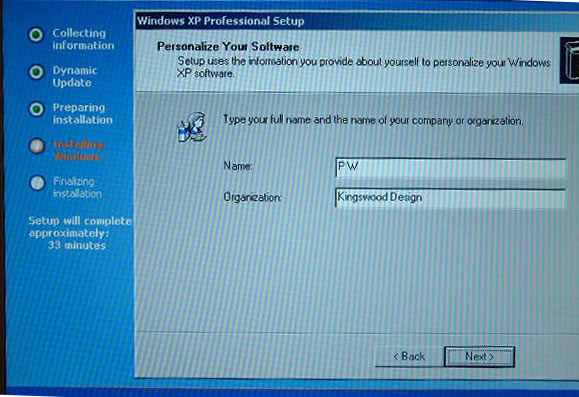
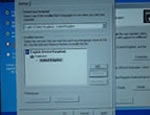
Add a user and company. Its not
a bad idea to make one up!
|
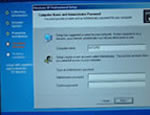
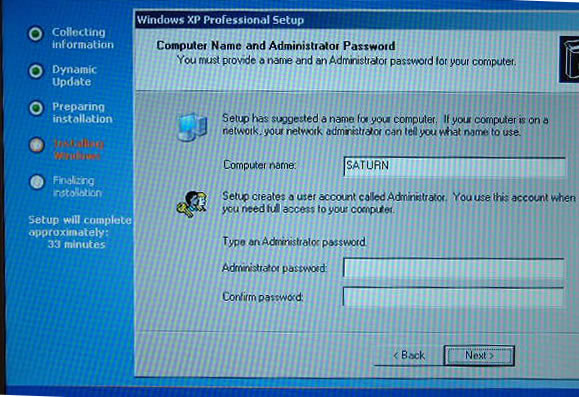
Give your computer a name, and type in an administrator
password, confirming the word so that you don't make a
mistake.
|
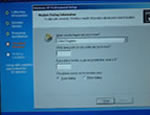
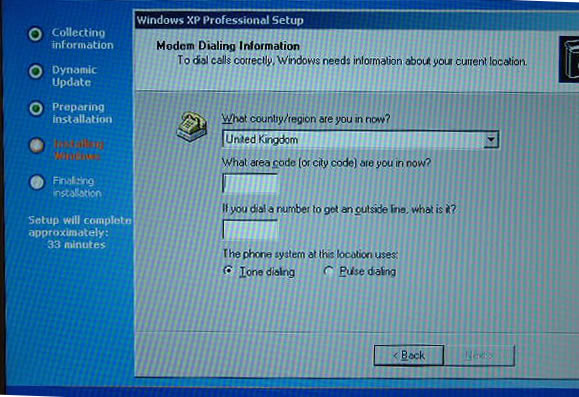
Select a dialing code, you will need to do this even if
you use ADSL
|

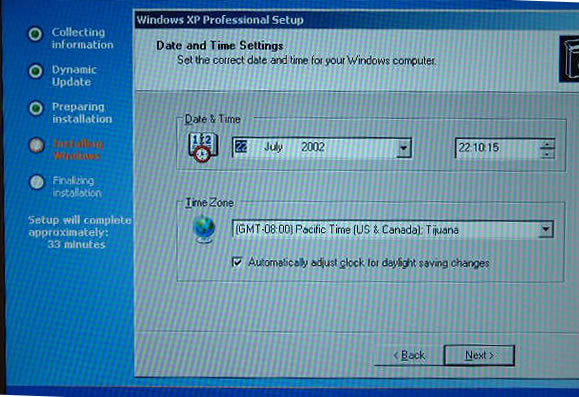
You can now set a time, or wait
until you have XP up and running and it will automatically
correct itself. Make sure that you choose the correct
time zone.
|
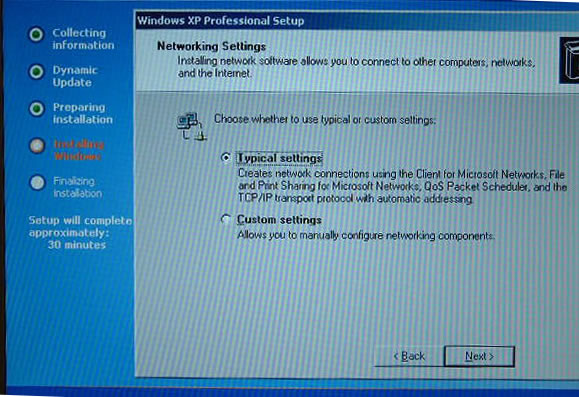
XP will now set up your home network, this machine was
plugged into a network, so XP could configure most of
the options itself.
|
|
|
| |
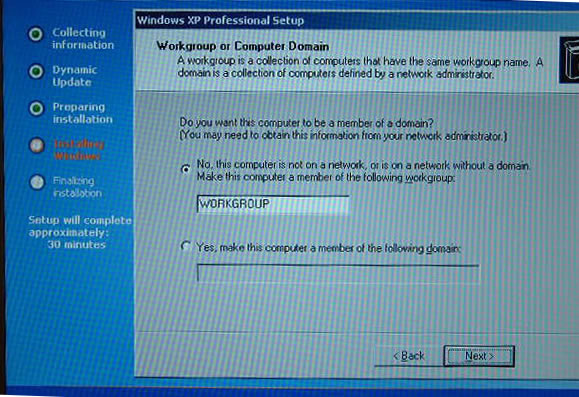
Unless you have a server on your
home network (unlikely), you will have to choose "workgroup"
If you want to change the name of the workgroup, make
sure that you use the same name on every machine on your
network.
|
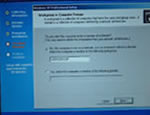
More blurb!
|
|
| |
|
|
|
XP now sets up your registry,
this may take a while.
|
|
|
|
| |
|
|
|
| |
|
|
|

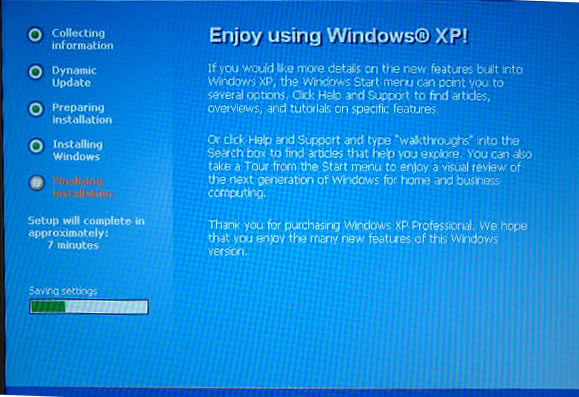
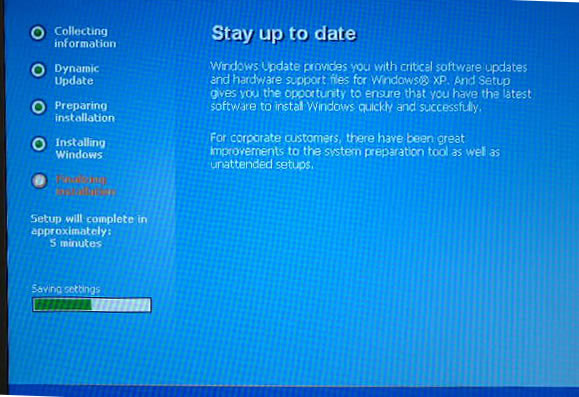
XP now saves the settings.
|
|
|
|
| |
|
|
|
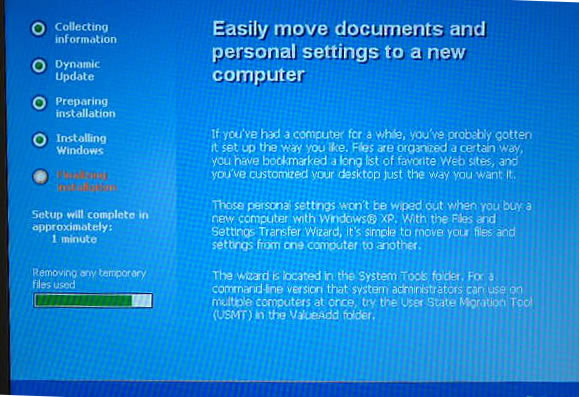
XP tidies up after itself.
|
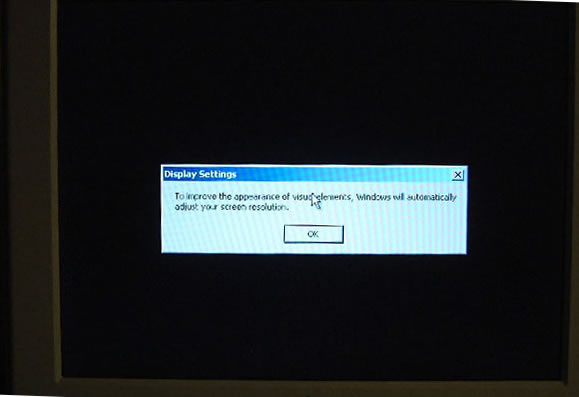
When XP reboots, it will ask
you to set up your screen. This is fairly automatic, you
just need to confirm that you can see the screen OK.
|
|
XP boots for the first time, fingers
crossed!
|
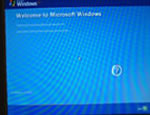
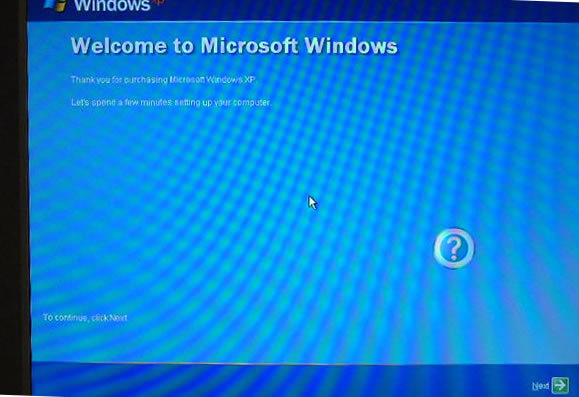
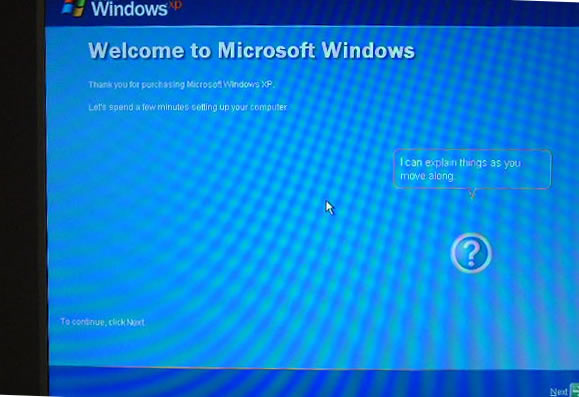
This "wizard" guides you
through the next part of the process.
|
|

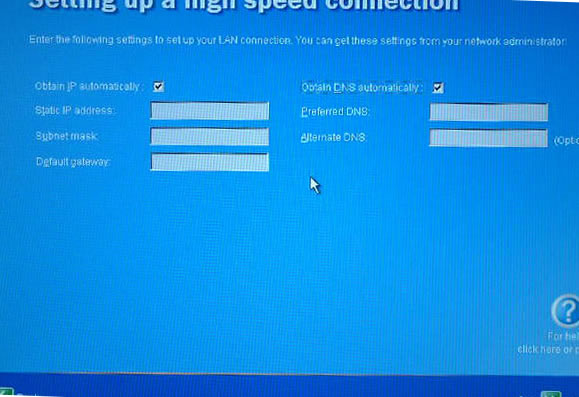
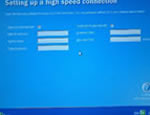
Select how your PC is connected
to the Internet.
|
Choose the default values, unless
you have an unusual setup.
|
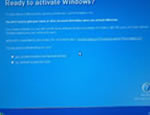
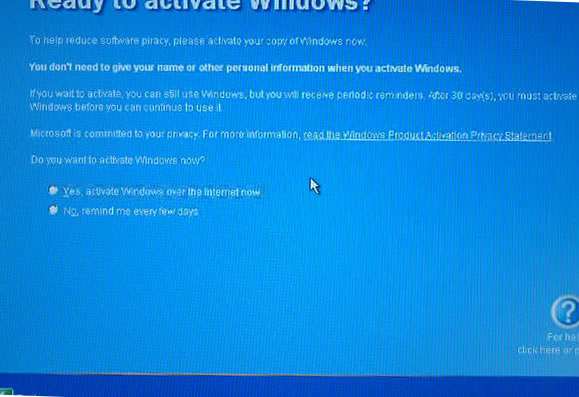
Tell XP to annoy you now, or every
few days!
|
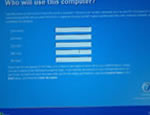
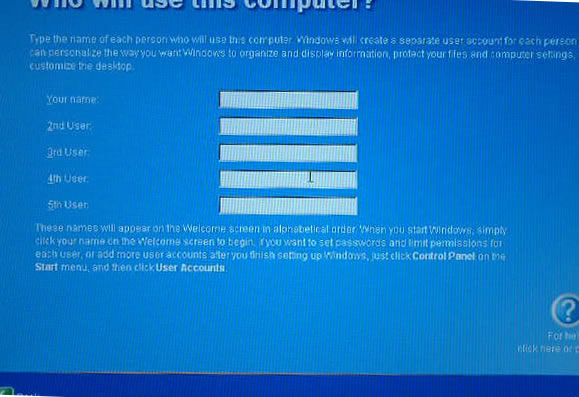
Add your users.
|
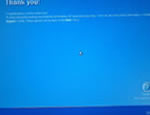
That should be it. On this workstation,
the hard drive took 45 to format (120Gb), and windows
XP took only 12 minutes to install!
|
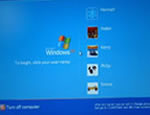
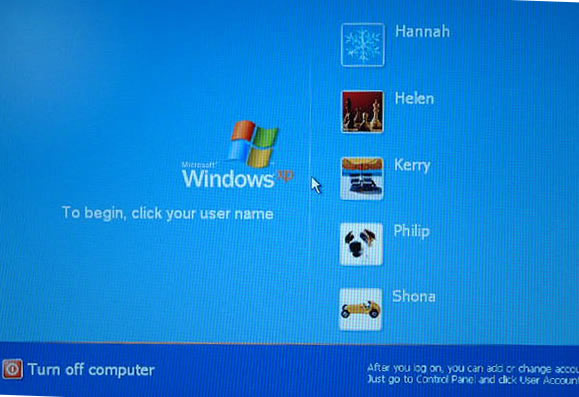
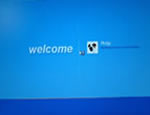
The Windows XP welcome screen. Click
on a user to log on.
|
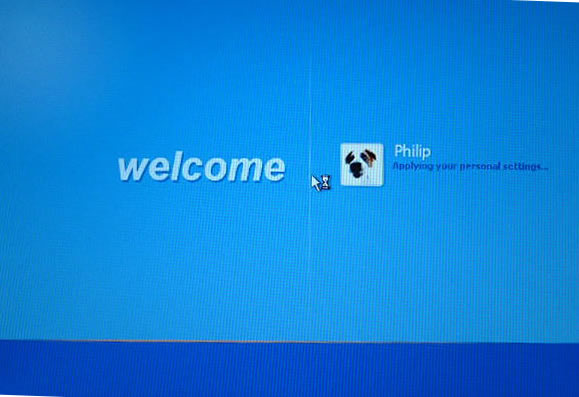
Loading an account.
|

Welcome to TellyTubbie land!
|
|
|